Build a Basic Calculator with JavaScript - A Step-by-Step Guide
Step 1: Set Up the HTML Structure - Create an HTML file with the necessary structure, including buttons for numbers and operators, an input field for display, and a <script> section for JavaScript code.
Step 2: Create JavaScript Functions - Inside the <script> section, define JavaScript functions for the calculator's basic operations, including initializing the display, appending values, clearing the display, and calculating results.
Step 3: Style Your Calculator (CSS) - Add CSS styles to make your calculator visually appealing. Define styles for the calculator container, buttons, and display area.
Step 4: Add Additional Buttons - Add more buttons for numbers and operators if needed. Adjust the appendToDisplay() function calls for each button accordingly.
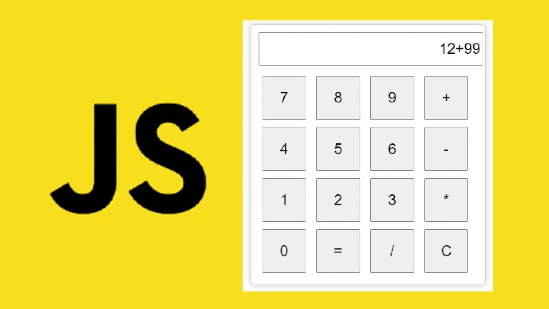
Step 5: Test Your Calculator - Test your calculator in a web browser to ensure it works as expected. Make any necessary adjustments to the code and styles.
That's it! You now have a simple calculator created using HTML, JavaScript, and CSS.
Source Code - Codepen
Recent Posts
- Basic to Advanced JavaScript & React.js Syllabus
- Gemini Google AI: Your Powerful Multimodal AI Assistant
- Turbocharge Your Downloads: Enabling Parallel Downloading in Chrome
- Cracking the Code: Mastering JavaScript Interview Questions - Top 50 Q&A for Web Developers
- Demystifying MEAN Stack: A Comprehensive Guide to MongoDB, Express.js, Angular, and Node.js